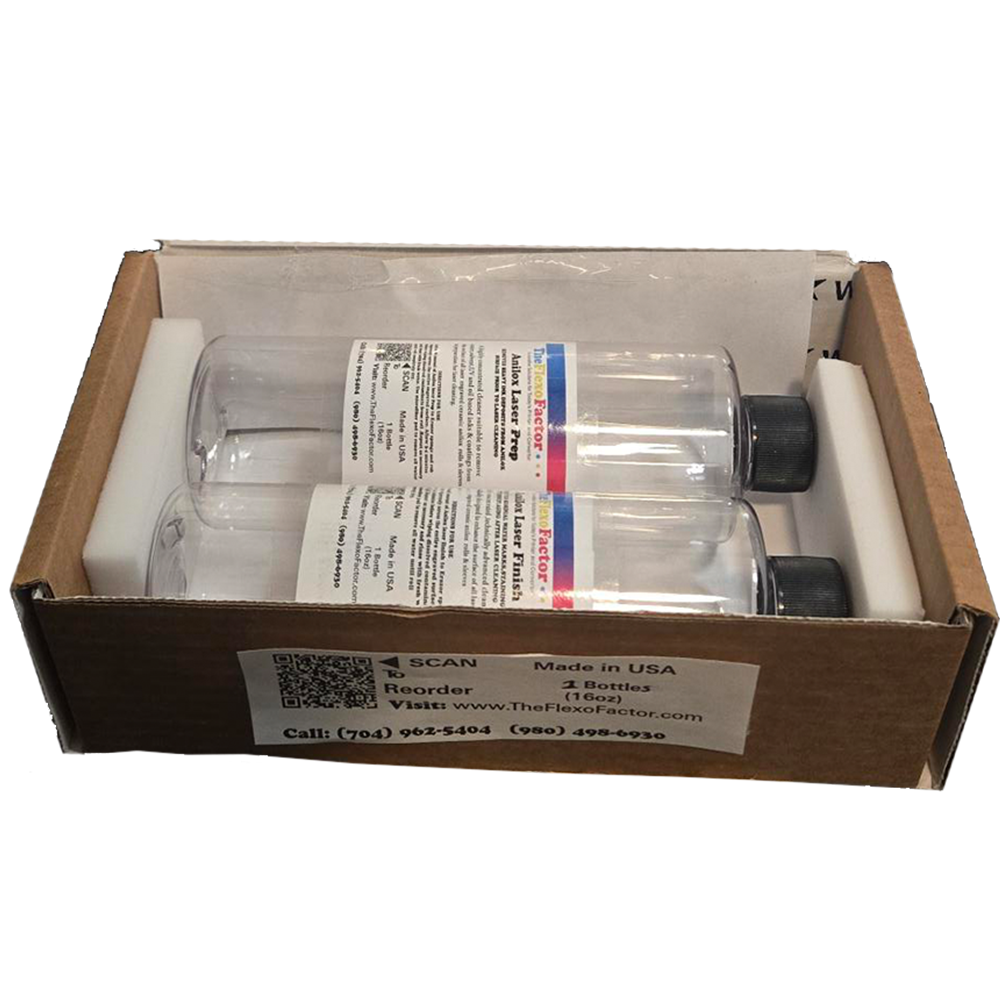
Laser Prep & Finish Kit
Price range: $85.00 through $599.00
The only way to remove staining and banding when laser cleaning anilox rolls.
The easiest process to remove globs of ink or glue before laser cleaning.
The way way to remove residual ink and glue from the ceramic coating and from the bottom of the ceramic cells after laser cleaning.
Description
Anilox Laser Prep & Finishing Kit
The complete two-step cleaning system that delivers what laser cleaning alone cannot — a truly uniform, deep-cleaned anilox surface.
If you’ve invested in a laser cleaning system for your anilox rolls and sleeves, you’ve likely run into a frustrating reality: even after a thorough laser cycle, your anilox can still show water staining, camouflaging, banding, or residual marks that transfer straight onto your printed substrate. You’re not alone, and the problem isn’t your laser — it’s physics.
Lasers do an excellent job vaporizing ink and coating residue inside the engraved cells and on the cell walls. What they cannot do is reach the contaminants driven deep into the porosity of the ceramic coating itself. Pigment particles and resin solids at the nano-micron scale get forced into the ceramic under the hydraulic pressure of high-speed printing, settling in uneven patches that no amount of laser passes will remove. Worse, once those particles are embedded, similar particles are drawn to them — meaning your anilox plugs faster, you clean more often, and the cycle accelerates.
Our Anilox Laser Prep & Finishing Kit is engineered to break that cycle. It bookends your laser cleaning process with two purpose-built chemical solutions: one to prepare the surface before lasering, and one to finish it afterward. Together, they restore your anilox to a genuinely uniform condition that lays down ink evenly, prints cleanly, and stays clean longer on press.
Compatible with water-based, solvent, UV, and oil-based inks and coatings.
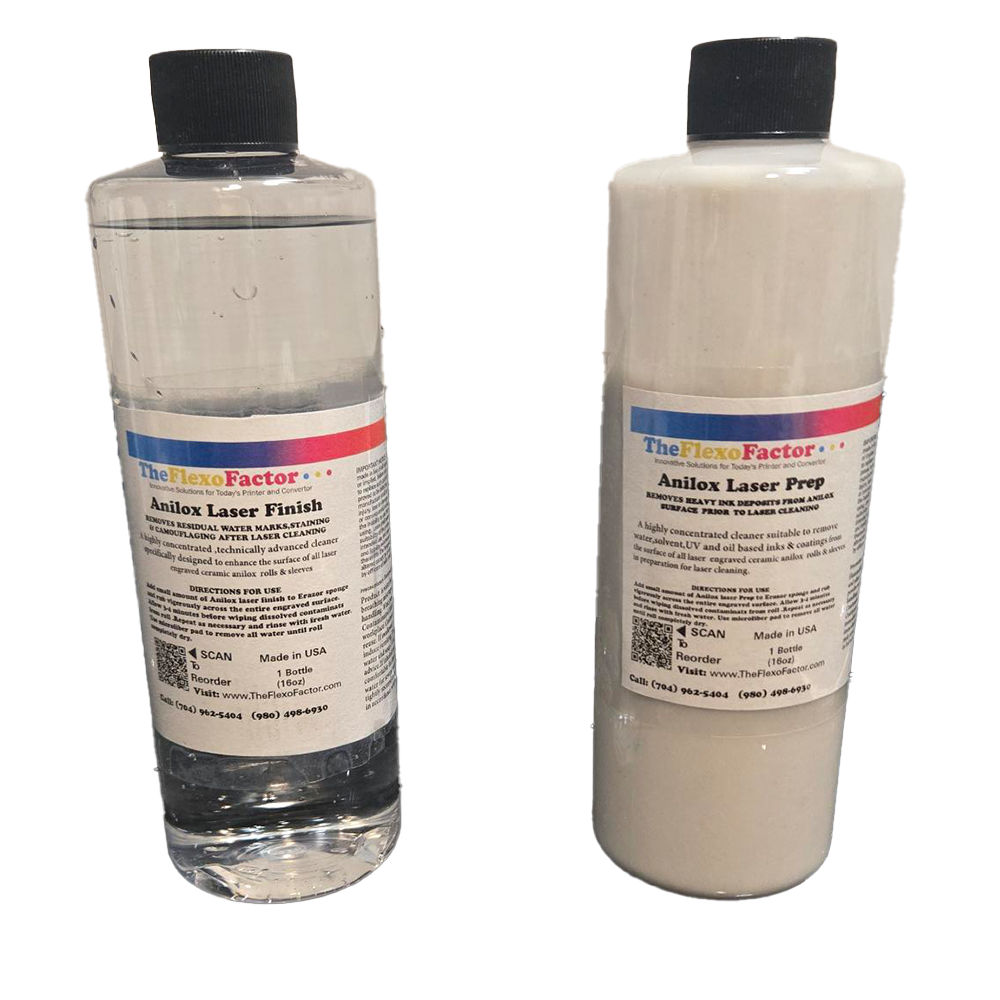
Anilox Laser Prep — The Critical First Step
Used before laser cleaning to remove heavy ink and coating build-up from the anilox face and engraved cells.
When dried ink or coating is left thick and unevenly distributed across an anilox surface, laser cleaning becomes inconsistent. Operators often respond by running the roll through the laser multiple times to chase those stubborn patches — and that’s where damage starts. Repeated thermal cycling over built-up spots can scorch cell walls and leave permanent witness marks where the heavy deposit used to be, creating the very banding pattern you were trying to eliminate.
Anilox Laser Prep solves this at the source. Applied before the roll enters the laser cleaner, it softens and lifts heavy ink and coating residue from both the surface and inside the cells, leaving a far more uniform starting point. The result:
- Even, single-pass laser cleaning — no more chasing thick spots
- Reduced risk of thermal damage to ceramic cell walls
- Longer anilox service life and more consistent engraving geometry
- Cleaner laser output with less smoke, debris, and contamination of optics
Think of it as the difference between sanding a wall before painting versus painting over flaking debris. The prep step is what makes the finished result possible.
Anilox Laser Finish — The Deep Clean Your Laser Can’t Deliver
Used after laser cleaning to remove embedded contaminants from within the ceramic coating itself.
This is where the magic happens. Anilox Laser Finish is a specially formulated liquid that penetrates the porosity of the ceramic coating, dissolves the embedded pigment and resin particles your laser left behind, and lifts them out so they can be flushed away with fresh water.
This is the only practical way — short of ultrasonic cleaning — to address the residual staining, camouflaging, and banding that survive laser treatment. By pulling those contaminants out of the coating, Anilox Laser Finish:
- Eliminates patchy staining and banding that transfer to the printed image
- Restores uniform ink and coating lay-down across the entire roll face
- Dramatically extends time between cleanings — clean ceramic doesn’t attract new contamination as quickly as already-contaminated ceramic
- Works on every ink chemistry: water-based, solvent, UV, and oil-based
When the anilox goes back on press, there’s no hidden contamination waiting to seed the next plug-up. You start clean and stay clean longer.
How to Apply
For best results, apply Anilox Laser Finish using one of our Erazor applicator sponges (available separately). Place a small amount on the sponge and work it into the ceramic surface in a circular motion across and around the entire roll face.
Important: Never spot-clean a section of the anilox. Treating only part of the surface leaves a witness mark — a boundary where the cleaned area releases ink differently than the surrounding area, which transfers directly to your print. Always treat the full surface uniformly.
Once worked in, flush with fresh water and dry with one of our microfiber pads.
Why This Kit Pays for Itself
Every time a marginal anilox goes back on press, you risk wasted substrate, color drift, banding complaints, and unplanned downtime for another cleaning cycle. The Anilox Laser Prep & Finishing Kit gives your operators a repeatable process that delivers a uniformly engraved pattern, predictable on-press performance, and significantly longer intervals between cleanings.
One kit. Two products. Two steps. A genuinely clean anilox — every time.
You may also like…
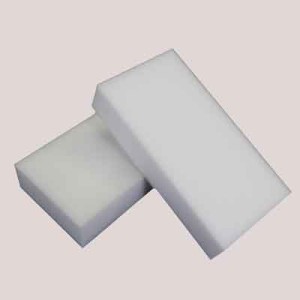
Erazor Extra Strength Cleaning Sponge
Price range: $15.00 through $120.00 Select options This product has multiple variants. The options may be chosen on the product page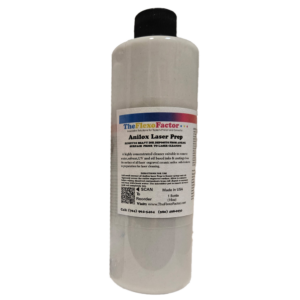
Anilox Laser Prep
Price range: $29.59 through $345.00 Select options This product has multiple variants. The options may be chosen on the product page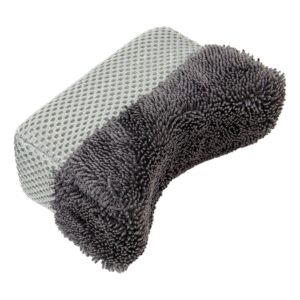
Micro Dry Pad
$14.40 Add to cart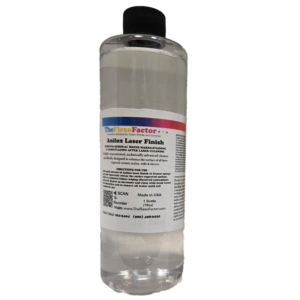
Anilox Laser Finish
Price range: $45.00 through $525.00 Select options This product has multiple variants. The options may be chosen on the product page